
ILCE-7M4 & ILCE-7RM5
Sony α7 IV & α7R V Camera Settings
Use the instructions below to change the camera settings required for proper communication between the Ortery software and compatible camera.
Before Beginning
Ensure the Sony α7 IV or α7R V firmware is up to date.
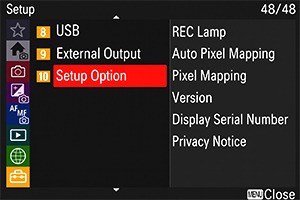
1. Press MENU > Setup > Setup Option
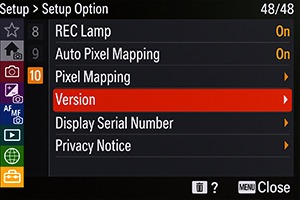
2. Select "Version"
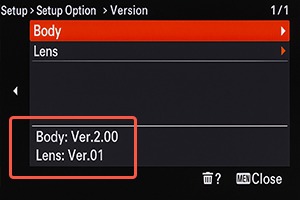
3. Find Body Firmware Number
For the latest firmware information, please visit:
1. FE Lens Settings
If using a Sony lens with toggles, set:
1. Set Camera Focus toggle to AF.


2. Camera Power Source
Instead of batteries, we strongly recommend using an AC power adapter to power the camera while using the Ortery software.
3. Camera Body Settings
- Set the dial on the top of the camera, on the right of the viewfinder, to M for Manual Mode.
4. Reset Camera Settings
We recommend reseting camera to factory settings before beginning the next steps.
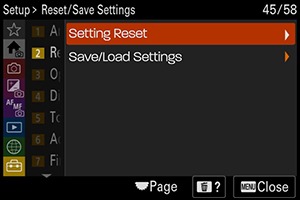
1. Press MENU > Setup > Reset/Save Settings > Setting Reset
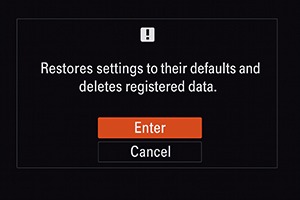
3. Press "Enter"
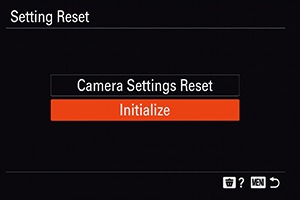
2. Select "Initialize"
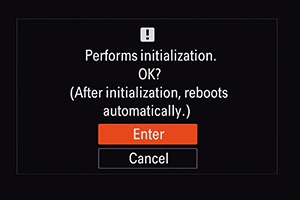
4. Press "Enter" Again, Camera will reboot
5. Set Date/Time
This step needs to be done first. Skipping this step may prevent Ortery Capture from being able to communicate with the camera.
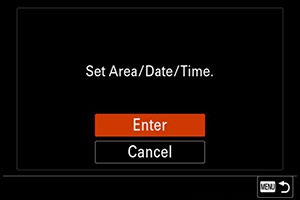
1. Set Area/Date/Time > Enter
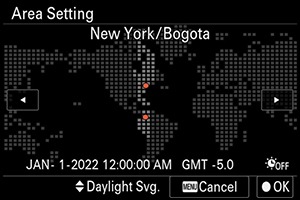
2. Use the Control Wheel to select Area
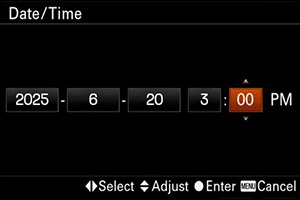
3. Set Date and Time
6. Connect to Wi-Fi
A stable Wi-Fi connection is necessary for Ortery Capture to communicate with the camera via a tethered USB connection.
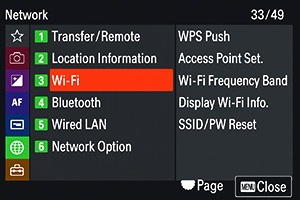
1. Press MENU > Setup > Wi-Fi
3. Select Wi-Fi Network
.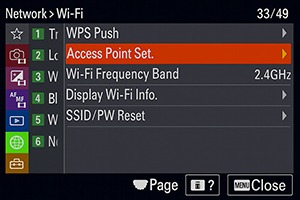
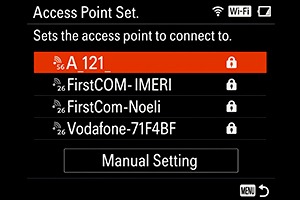
2. Press "Access Point Set."
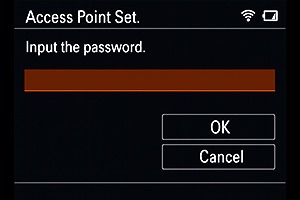
4. Enter Password and Press "OK"
7. Disable Power Saving
This prevents the camera (and its monitor) from going into Sleep Mode.
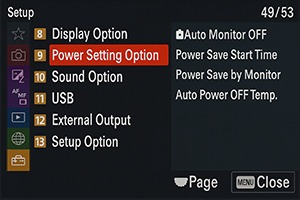
1. Press MENU > Setup > Power Setting Option
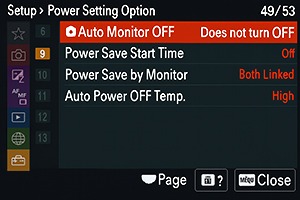
2. Set Auto Monitor OFF to "Does not turn OFF"
Set Power Save Time to "Off"
8. Set Finder/Monitor
This step disables the ambient light sensor that would switch the active view screen from the LCD screen (Monitor) on the back of the camera body to the Viewfinder (Finder).
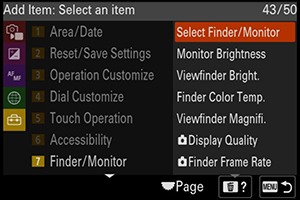
1. Press MENU > Setup > Finder/Monitor > Select Finder/Monitor
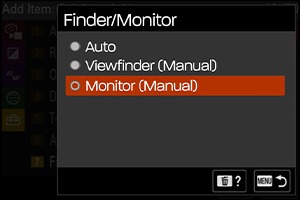
2. Select "Monitor (Manual)"
9. Set Electronic Shutter
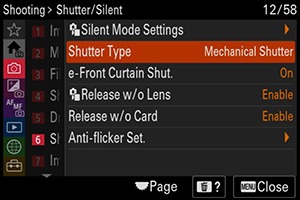
1. Press MENU > Shooting > Shutter/Silent > Shutter Type
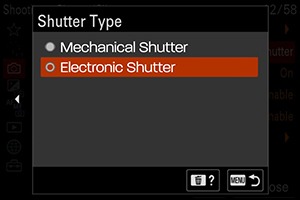
2. Select "Electronic Shutter"
10. Set PC Remote & Pair PC
This step enables PC connection mode.
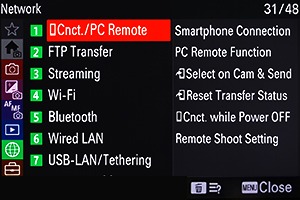
1. Press MENU > Network > Cnct./PC Remote
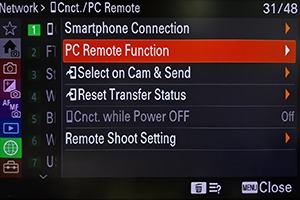
2. Select PC Remote Function
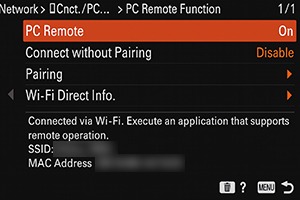
3. Set PC Remote to "On"
11. Set Image Size
This step prevents the image from being compressed to a smaller resolution.
1. Press MENU > Network > Cnct./PC Remote
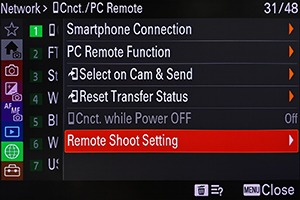
2. Select Remote Shoot Setting
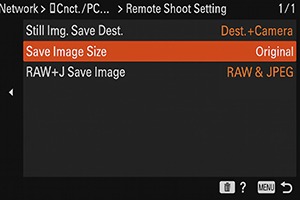
3. Set Save Image Size to "Original"
Not Sure What You Need?
Let our sales team help you make an informed decision